Clusters are groups of venues that are geographically close to one another. They help structure and organize venue lists, making navigation easier and improving the discovery of relevant places for users. Instead of displaying each venue individually, clusters provide a more intuitive browsing experience within the application.
The following roles are allowed to create and manage venue clusters:
Admin
Communication
Head of Project
Marketing
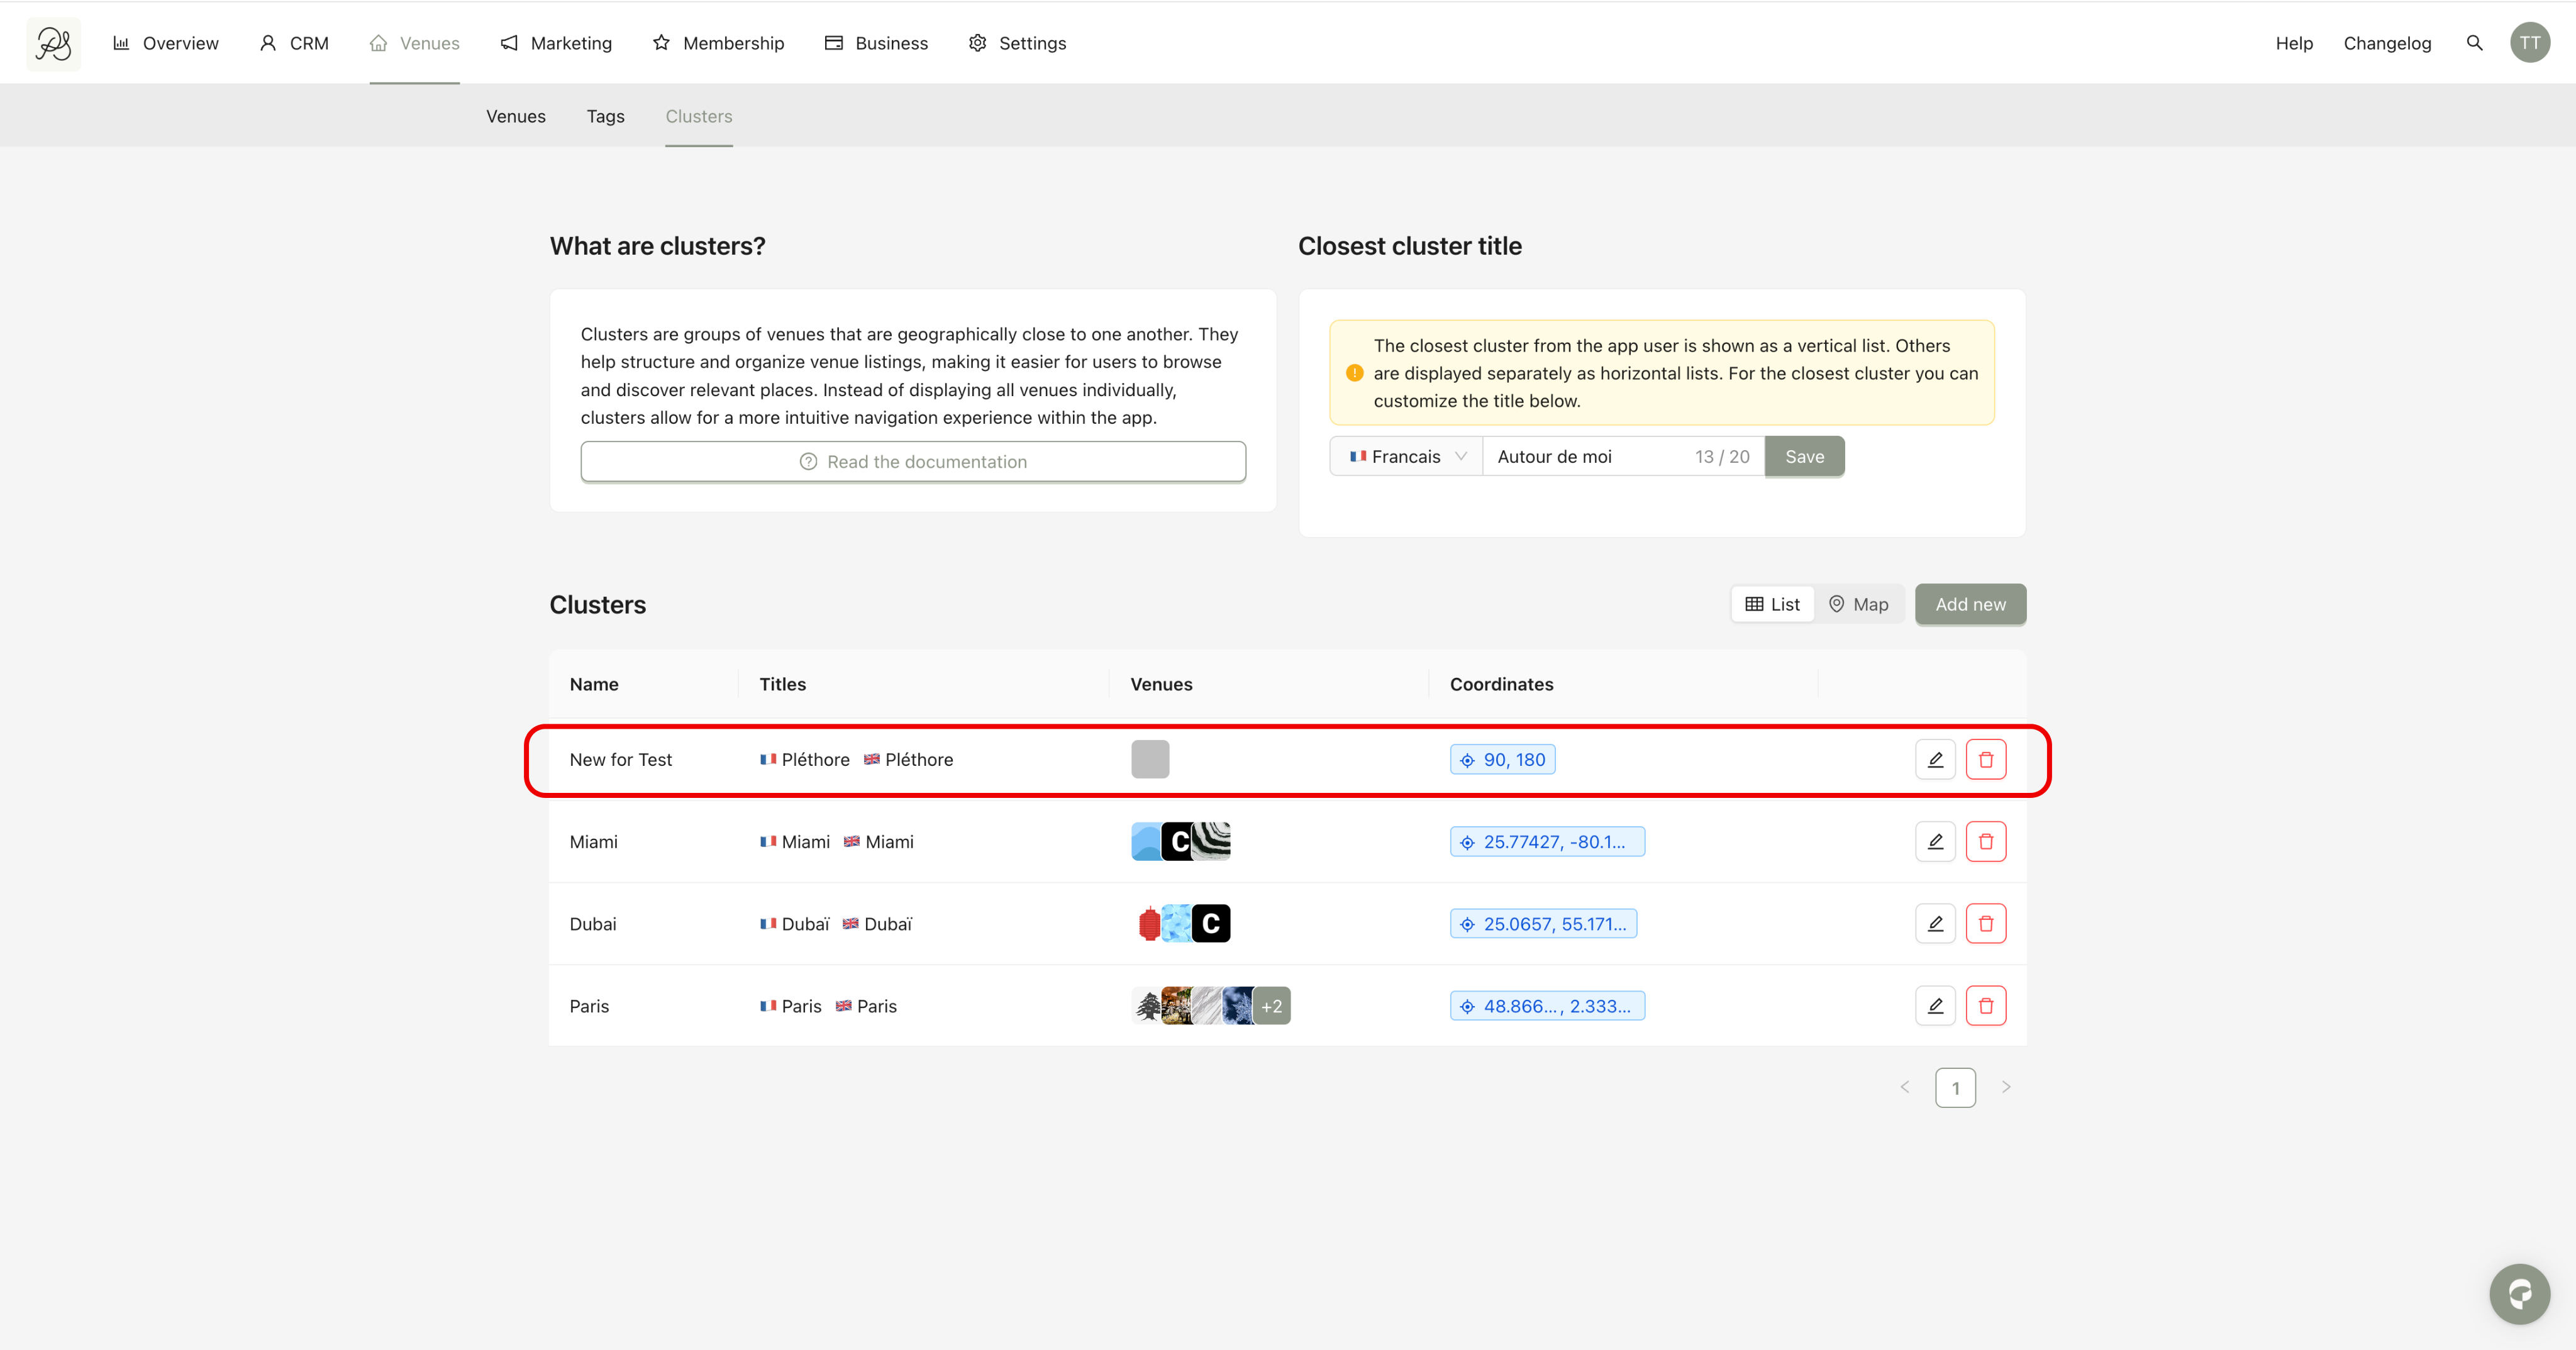
Step 1: Go to Venues → Clusters.
Step 2: Click Add new.

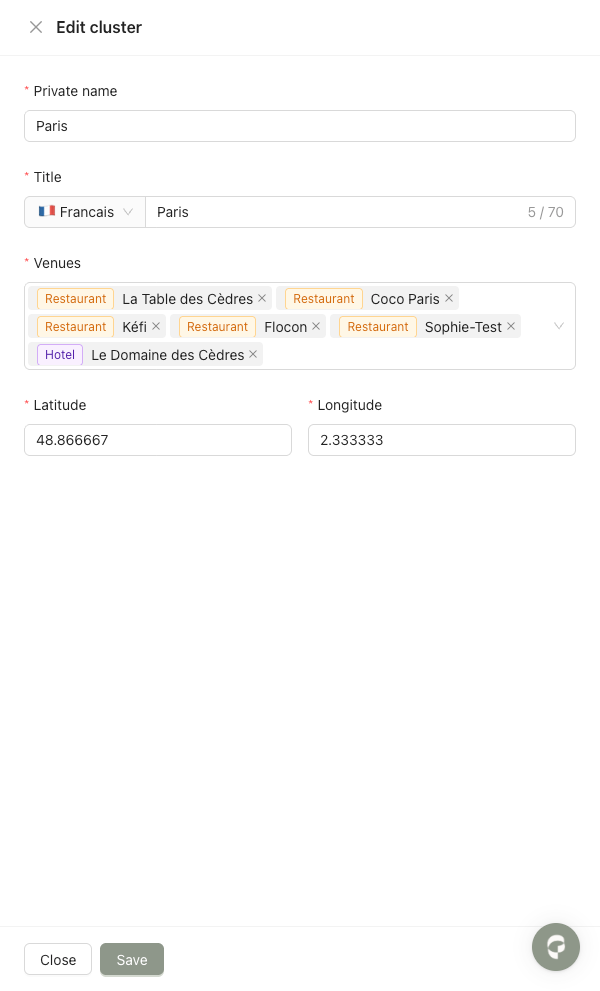
Step 3: Complete the form.
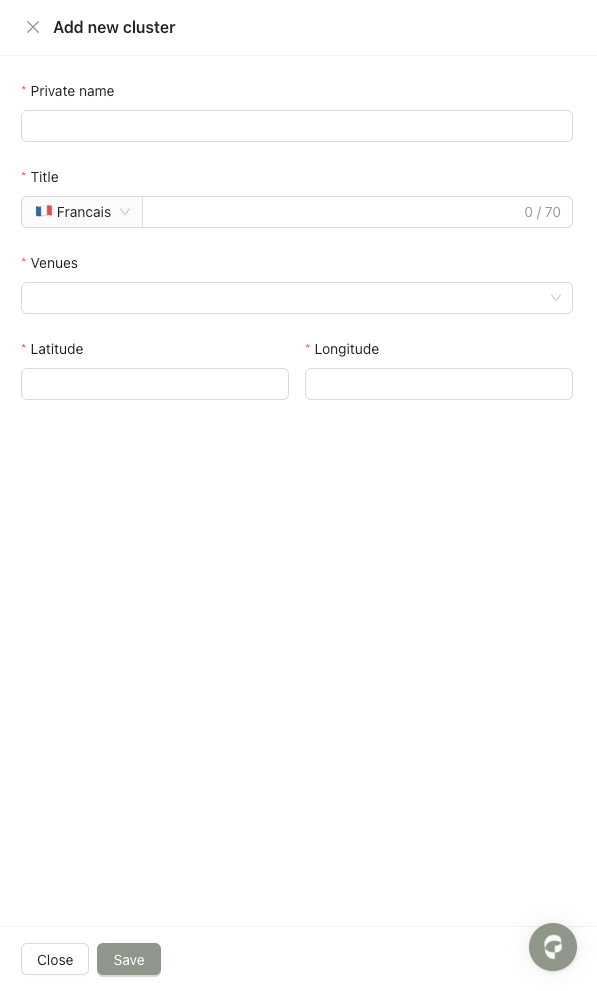
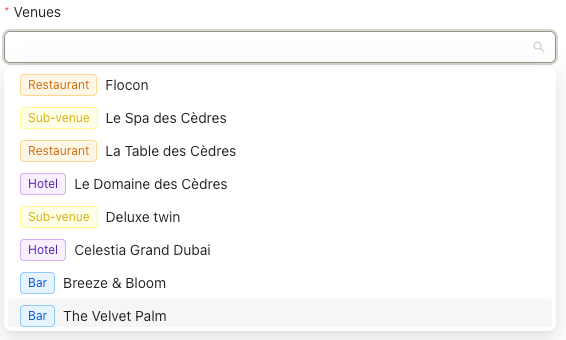
You can add venues to the cluster by clicking the Venues field, then select one or more venues from the list.
After that, fill the the latitude and longitude fields.
They define the cluster’s location on the map. This location is used to display clusters correctly in the mobile application.

Step 4: After filling all the information, click Save.
 Your cluster now appears on the list, and in your mobile application.
Step 1: Click the edit (pencil) icon.

Step 2: Update the form in French and English, then click Save.
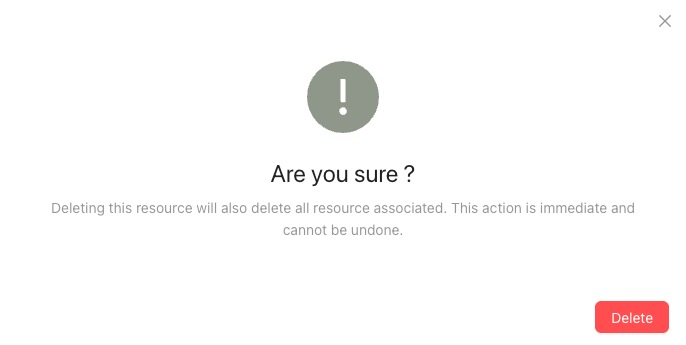
Step 1: Click the trash icon.

Step 2: A confirmation message will appear. Click Delete to confirm.


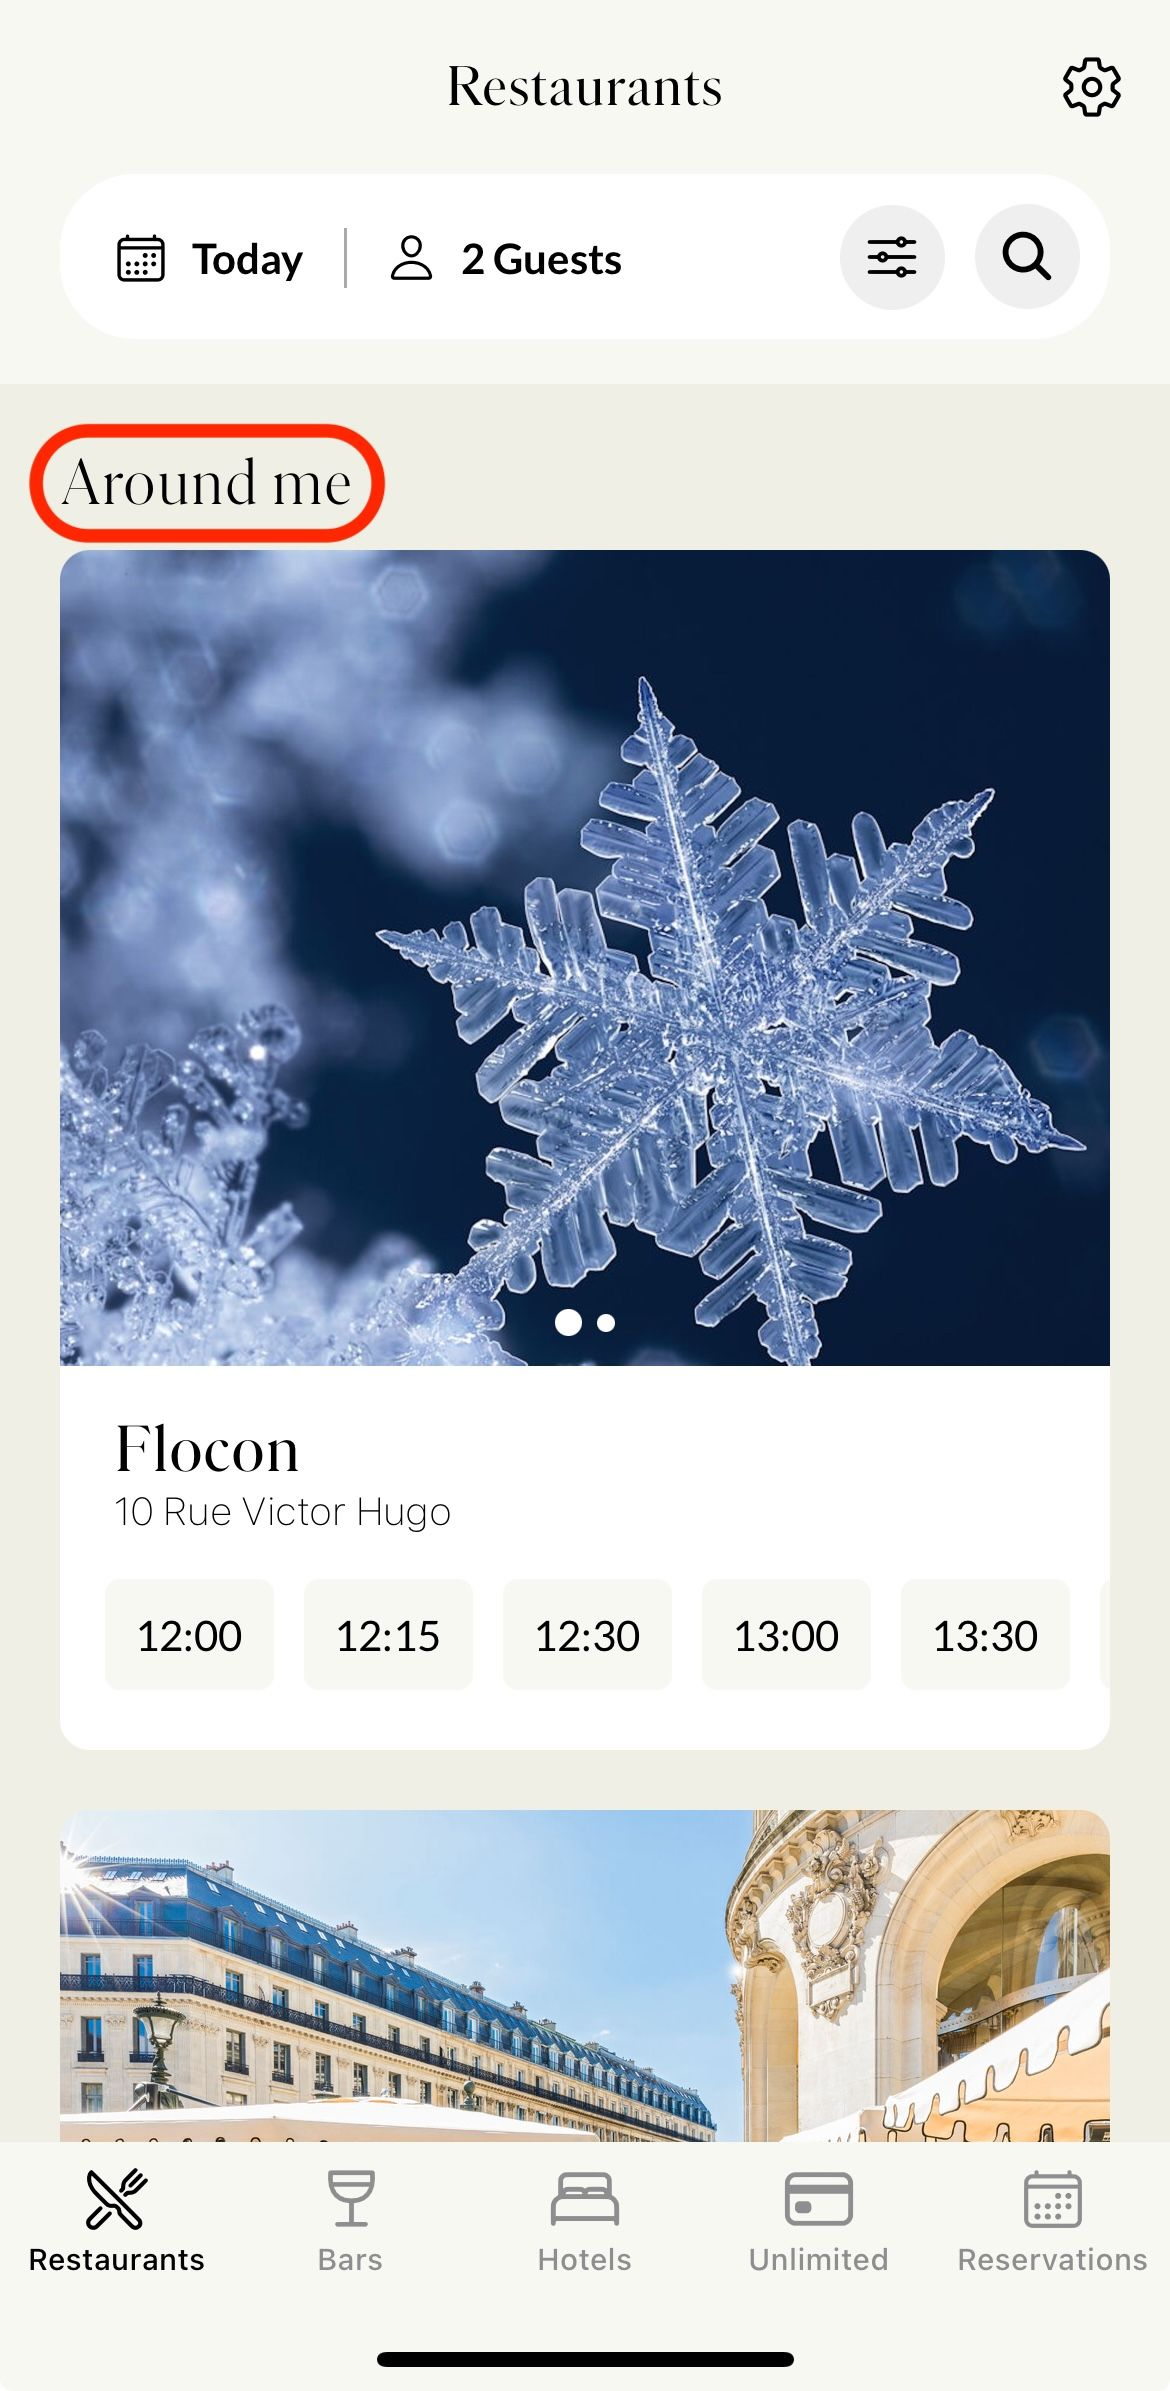
In the mobile application:
The nearest cluster is displayed as a vertical list.
Other clusters are displayed separately as horizontal lists.
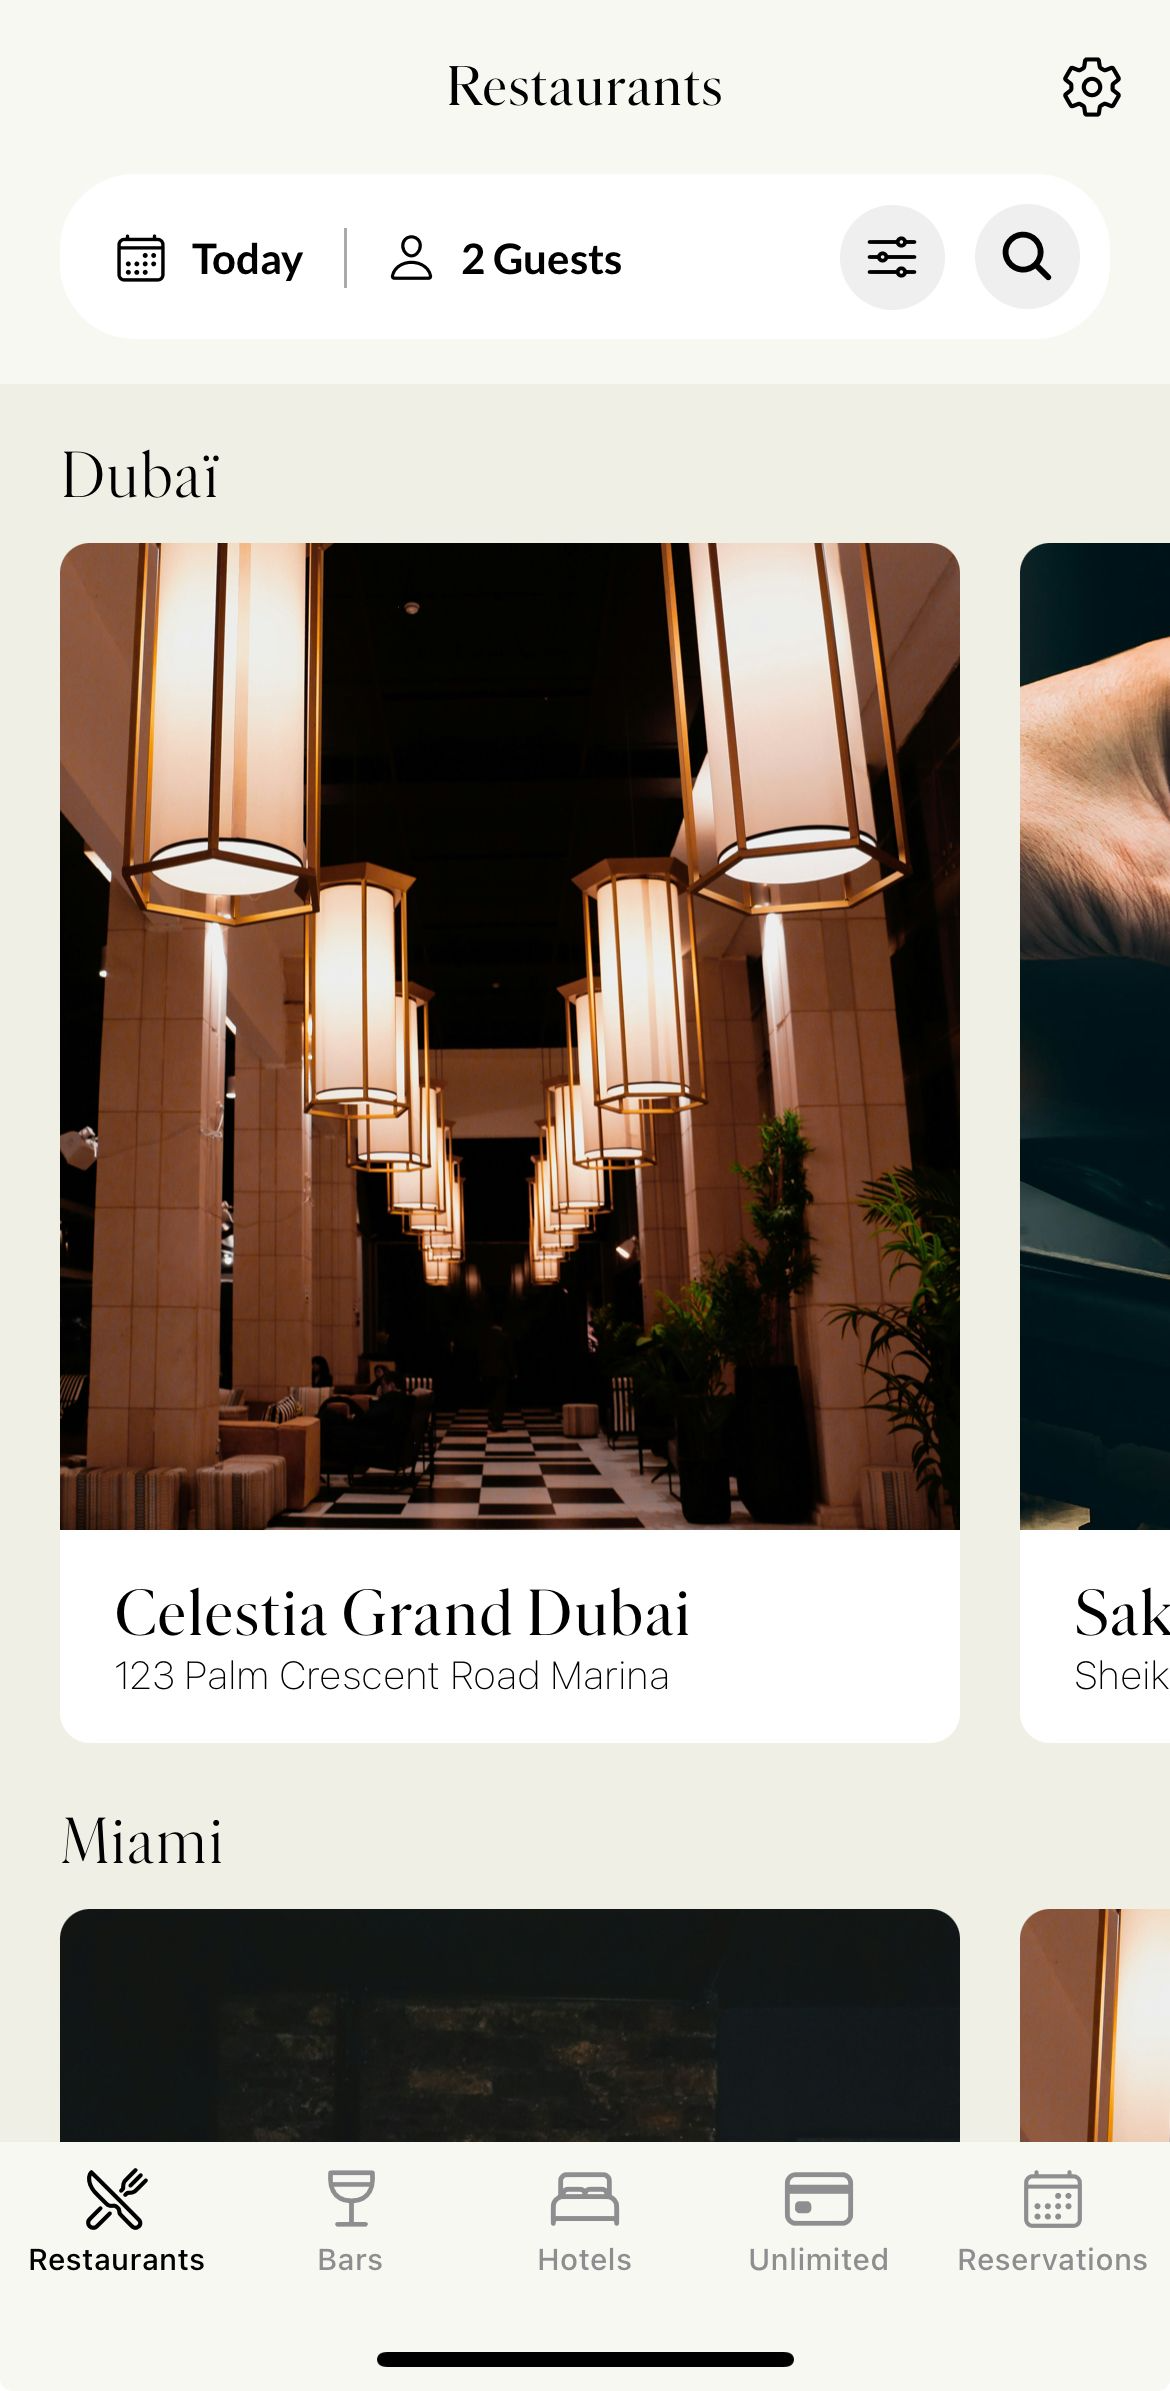
Below is how the nearest cluster appears in the mobile application.

Below is how the more distant clusters appear in the mobile application.
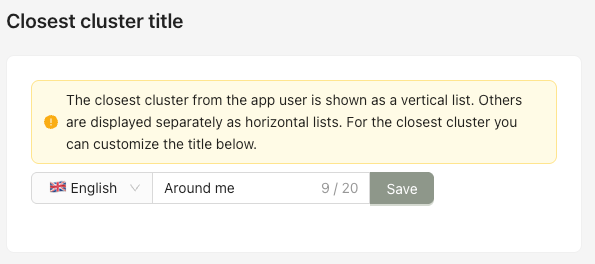
You can customize the title of the nearest cluster displayed to users, in French and English. The custom title is shown behind the nearest cluster list.
In the Back Office, clusters can be viewed in two different layouts:
List view (default)
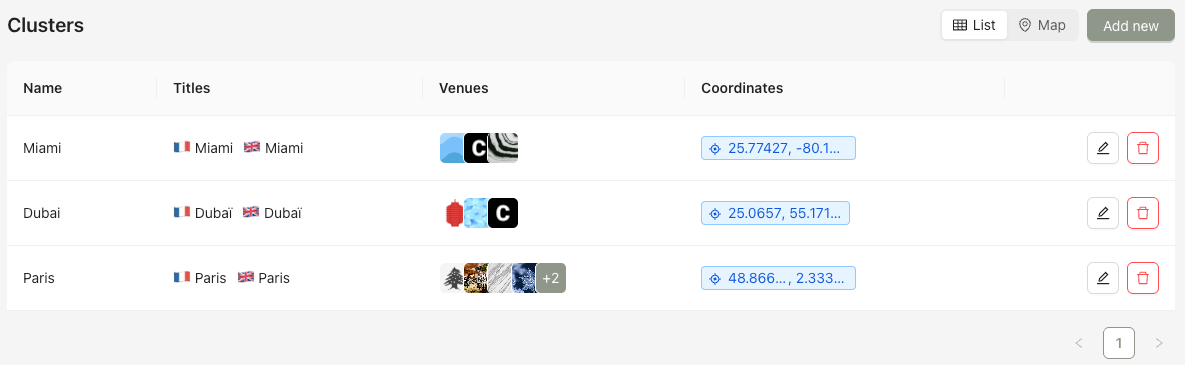
Map view
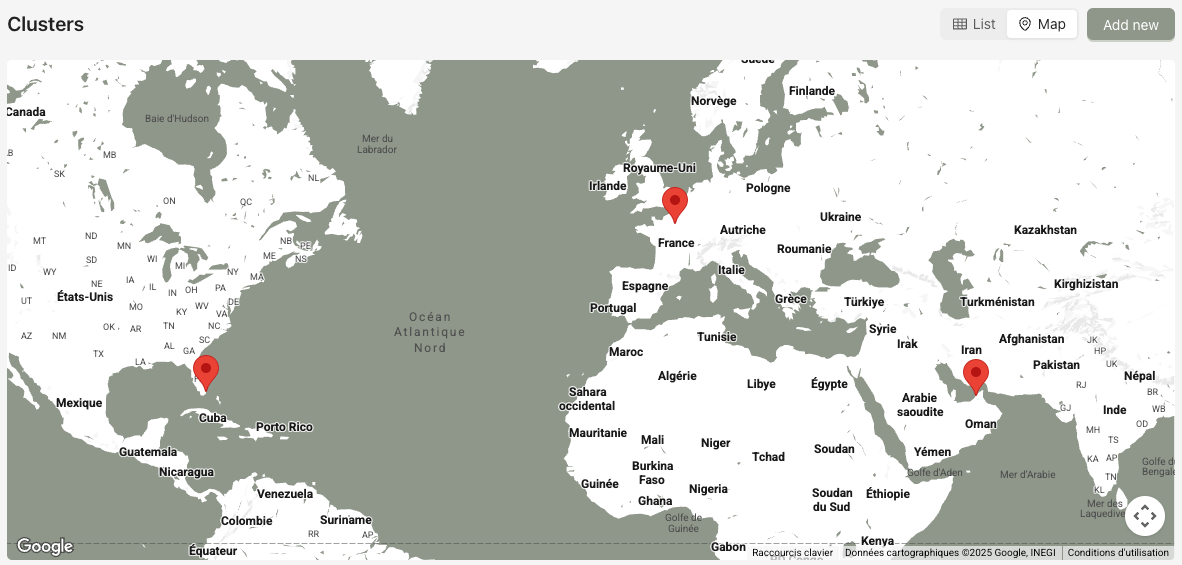
You can switch between these views to better manage and visualize your clusters.
